9 min read
52 vistas
How Many Days Do You Need in Cusco
This is probably one of the most common questions among those starting to plan their trip to Peru:...
Leer articuloIf you’re looking for detailed information on the Salkantay Trek itinerary, you’ve come to the right place. This 5-day, 4-night route is one of the most popular alternatives to the classic Inca Trail for reaching Machu Picchu, and unlike the Inca Trail, it doesn’t require limited government permits, making it more flexible to book. That said, this doesn’t mean it’s an easy trek: it crosses Salkantay Pass at 4,630 m (15,190 ft) and traverses several ecological zones, from freezing high-altitude puna to subtropical high jungle.
In this article, we’ll walk you through exactly what to expect, day by day: distances, altitudes, hiking times, and the standout highlights of each stage, so you arrive with the real information you need to plan your trip.
The 5-day Salkantay Trek combines mountain hiking, snow-capped peak scenery, high jungle, and the final arrival at Machu Picchu. Broadly speaking, the route looks like this:
In total, the route covers between 60 and 70 km (37-43 miles), depending on the specific variant your operator uses, with a considerable accumulated elevation gain, especially on the second day. If you want to dig into the full logistics before booking, we recommend checking our complete Salkantay guide, where we cover things like pricing, seasons, and what’s typically included in the package.
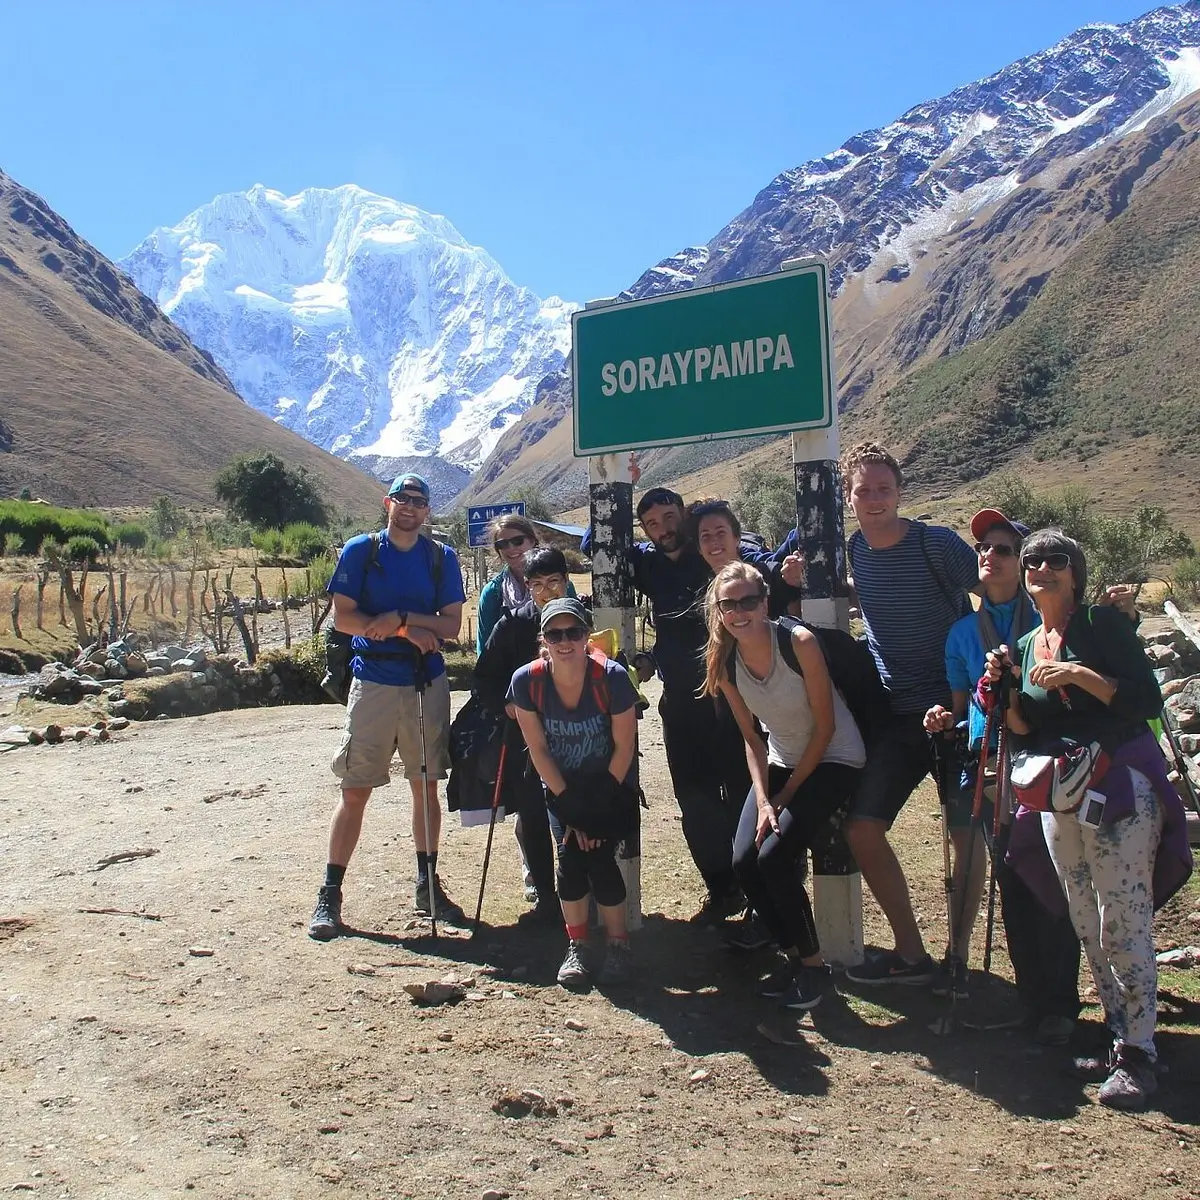
The first day usually starts early in the morning, with a road transfer from Cusco to the town of Mollepata (roughly 2-3 hours), and from there on to Soraypampa, the point where the actual hike generally begins. This initial transfer already puts you at altitude, so it’s essential to have spent at least 1-2 days acclimatizing in Cusco (3,400 m / 11,152 ft) before starting the trek.
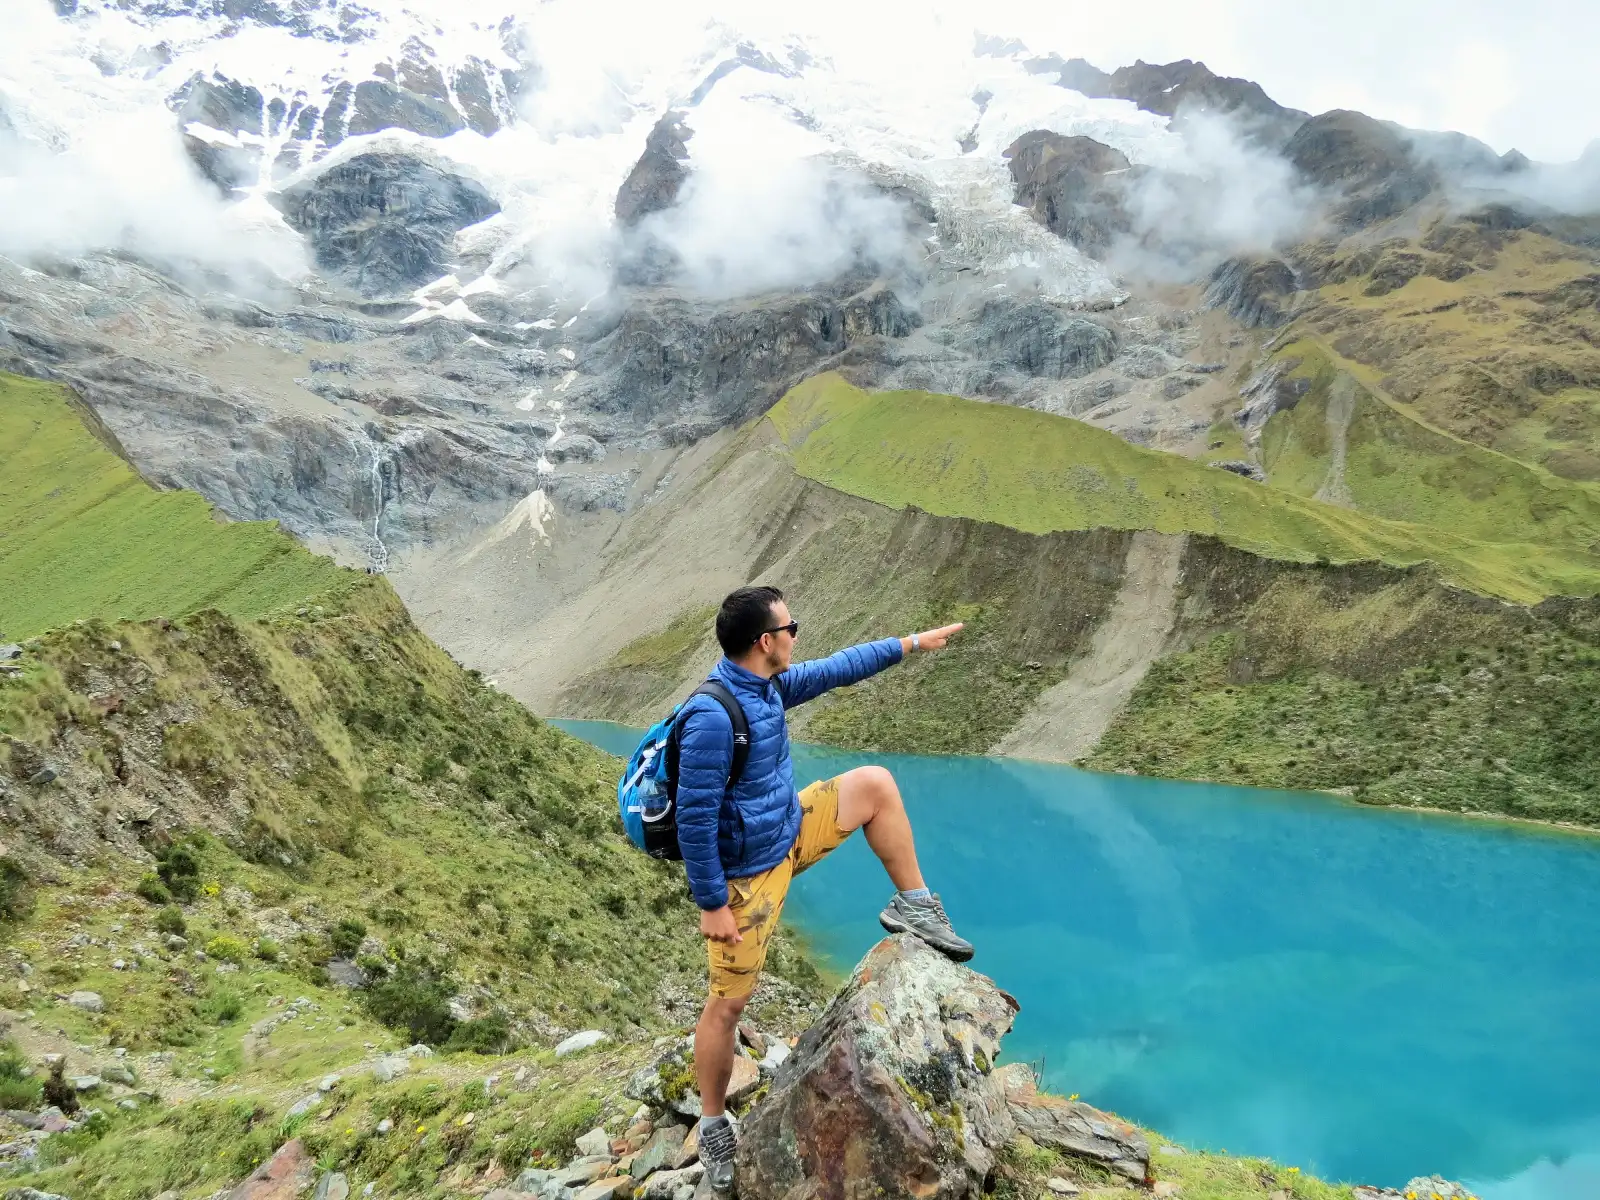
Once at Soraypampa (roughly 3,900 m / 12,795 ft), many itineraries include the option of leaving your main luggage at camp and doing a round-trip hike up to Humantay Lake, located at about 4,200 m (13,780 ft). This side hike usually takes 2 to 3 hours round trip, with a steep but relatively short ascent, and it’s one of the most photographed moments of the entire trek: the contrast between the lake’s turquoise water and the Humantay glacier in the background is simply spectacular.
This hike to Humantay also serves an important practical purpose: it acts as part of the acclimatization process ahead of the second day, the most demanding of the entire route. After the side hike, you descend back to Soraypampa to spend the first night in a tent, generally at an altitude of around 3,850-3,900 m.
The total distance for day one, including the Humantay side trip, usually runs around 8-10 km (5-6 miles), with 4 to 5 hours of active hiking. Nighttime temperatures at Soraypampa already start to feel cold, especially between May and August, so a good sleeping bag is essential from this first night on.
This is, without a doubt, the toughest day of the entire trek, both physically and logistically. The day begins early, generally before sunrise, with a steady ascent from Soraypampa (3,900 m) up to Salkantay Pass, the highest point of the entire route at 4,630 m (15,190 ft).
The climb to the pass usually takes 3 to 4 hours, depending on the group’s pace and each person’s level of acclimatization. It’s a demanding stretch, with noticeably thinner air at that altitude, and where altitude sickness can set in if prior acclimatization wasn’t sufficient. If you’re wondering just how demanding this section really is, we recommend checking our article on Salkantay trek difficulty, where we break down the physical level needed to complete it comfortably.
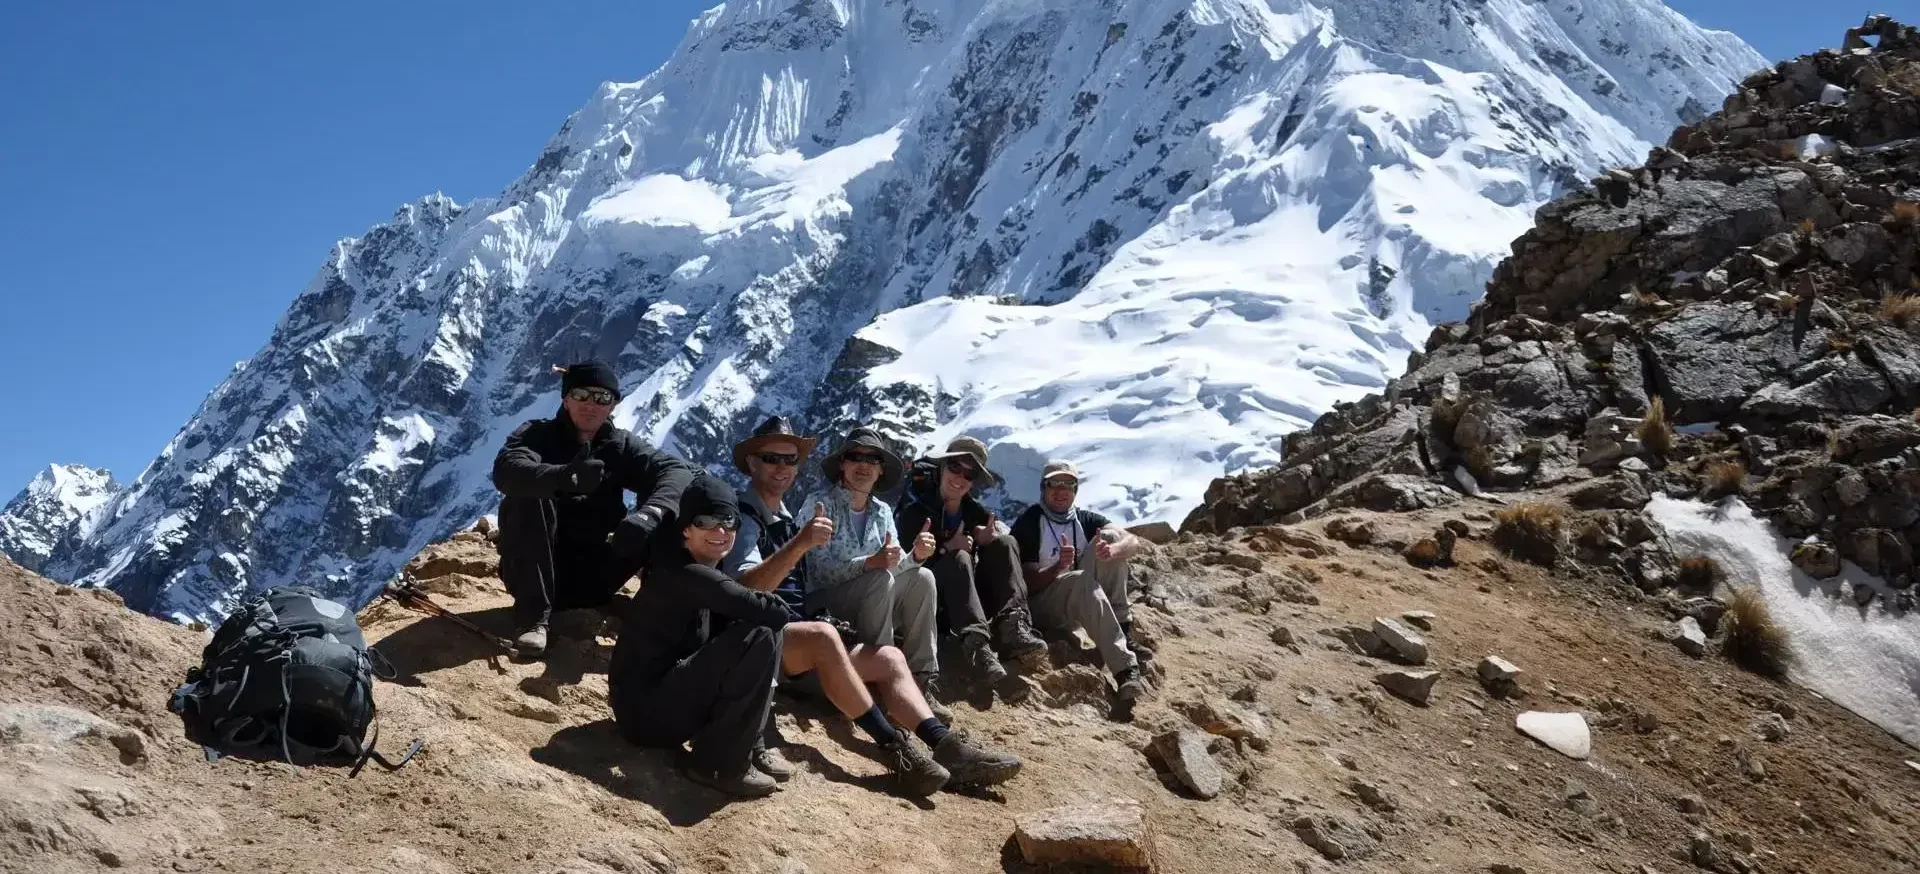
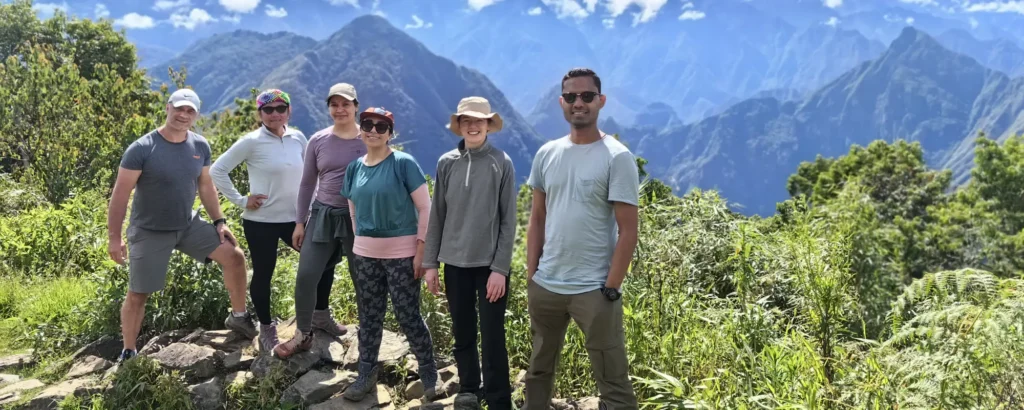
The reward for this effort is one of the most impressive views of the entire route: from the pass, with luck and good weather, you can see Salkantay Mountain (6,271 m / 20,574 ft) practically right beside you, along with panoramic views of the surrounding range. Many local guides perform small Andean rituals at this point, such as offerings to the Pachamama, a moment that tends to be emotional for trekkers.
After a brief rest at the pass — where the intense cold and wind don’t invite lingering too long — a long descent begins toward the Chaullay area, located at roughly 2,900 m (9,514 ft). This descent is markedly different from the morning’s climb: as altitude drops, the scenery shifts from arid, cold puna to increasingly dense vegetation, marking the transition into the high jungle.
The total distance for day two usually runs 18 to 22 km (11-14 miles), with a total hiking time of 8 to 9 hours. It’s, without question, the leg that demands the most physical endurance in the entire itinerary, but also the one that delivers the most memorable scenery.
The third day marks a notable shift in ecosystem and pace. After the previous day’s exertion, this leg is considerably gentler in terms of physical demand, although it’s still a long day in terms of distance.
The hike continues the descent started the day before, moving through increasingly lush high-jungle terrain. The change in scenery is striking: vegetation grows denser, coffee and tropical fruit plantations appear, and temperatures rise considerably compared to the previous days at altitude. This stretch also offers the chance, on some itineraries, to pass through small local communities where you can see crops like organic coffee or sugarcane being grown.
Some operators include a stop at natural hot springs on this day, a very welcome break after the previous day’s effort. Depending on the specific route each operator runs, it’s also common to have the option of additional activities like zip-lining or rafting near Santa Teresa, for those looking to add some adrenaline to the itinerary.
The arrival in Santa Teresa, a small town in the valley at roughly 1,800 m (5,905 ft), marks one of the lowest points of the entire route in terms of altitude, which also means considerably warmer nights than on the previous days.
The distance for this third day usually runs 15 to 18 km (9-11 miles), with a hiking time of 6 to 7 hours, though the terrain is much less steep than the day before, which makes the effort feel noticeably lighter.
The fourth day is, generally speaking, the shortest and easiest day of the itinerary in terms of physical effort, though it marks the final stretch before reaching Machu Picchu, so anticipation and excitement tend to build.
The day begins with a transfer, either on foot or by vehicle depending on the operator, from Santa Teresa to the area known as Hidroeléctrica (the hydroelectric station). From this point, a relatively flat walk begins along the train tracks that follow the course of the Urubamba River, heading toward Aguas Calientes (also known as Machu Picchu Pueblo).
This final walk usually takes 2 to 3 hours, over much more accessible terrain than the previous days, making it a good opportunity to enjoy the scenery without the pressure of intense physical effort. The route runs alongside the river and offers views of the mountains surrounding the valley, including some first glimpses of the area where the Machu Picchu citadel sits.
Arrival in Aguas Calientes marks the end of the trekking portion of the itinerary proper. This town, sitting at around 2,040 m (6,693 ft), is the base from which you access Machu Picchu the following day, and typically offers hotel accommodation (unlike the previous nights in a tent), a welcome bit of comfort before the most anticipated day of the trip.
The distance for this fourth day usually runs 10 to 12 km (6-7 miles), with a hiking time of just 2 to 3 hours, the shortest leg of the entire route.
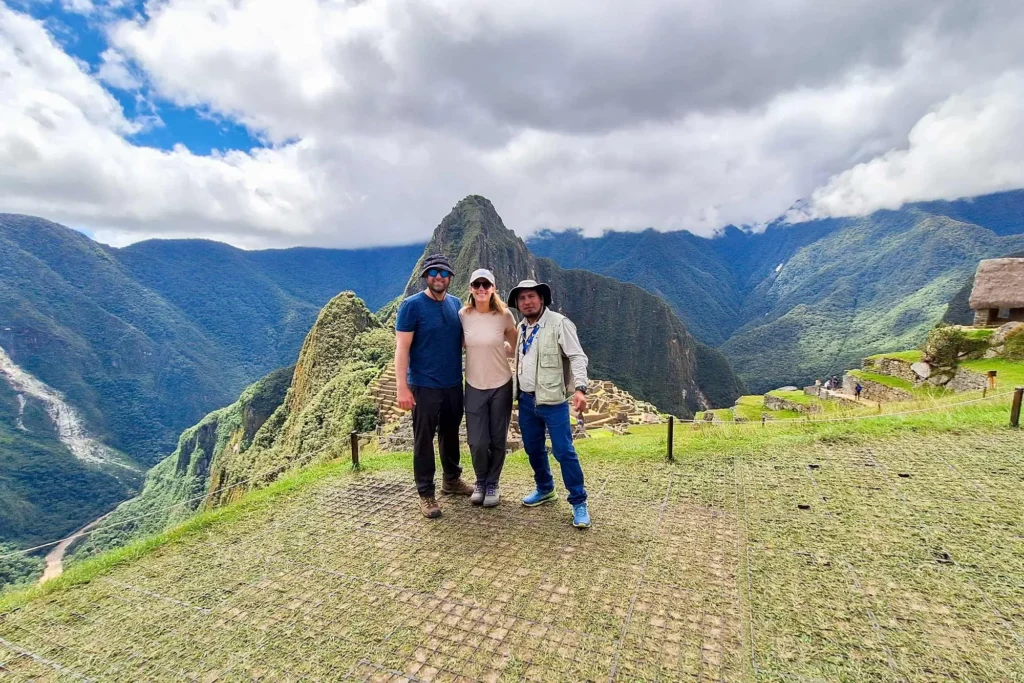
The last day is, for most travelers, the culmination of the entire trek: the visit to the Machu Picchu citadel. The day starts very early, generally with a bus from Aguas Calientes up to the citadel entrance (though there’s also the option of hiking up for those looking for an extra challenge).
Depending on your assigned entry time — keep in mind Machu Picchu operates with specific entry slots — you’ll spend several hours exploring the citadel with your guide, who’ll walk you through the history, architecture, and significance of this UNESCO World Heritage site. It’s important to plan your Machu Picchu ticket well in advance, since spots are limited and sell out weeks ahead during high season.
After the guided visit, many itineraries offer free time to explore the citadel on your own or, if you purchased the corresponding ticket, to climb Huayna Picchu or Machu Picchu Mountain, both options that require additional tickets booked far in advance.
Finally, the return trip is made by train from Aguas Calientes to Ollantaytambo, and from there by bus back to Cusco, closing the loop on the journey. This final leg back usually takes 4 to 5 hours in total, depending on available train schedules.
To get the most out of every day of the itinerary, keep these practical tips in mind:
As for the gear needed to complete these 5 days comfortably, check our detailed guide on what to pack for the Salkantay, where we cover everything from the clothing layering system to the accessories that make a real difference at each stage of the route.
Now that you know the day-by-day itinerary of the Salkantay Trek, you have all the information you need to plan your adventure with realistic expectations. Each day has its own character: from the physical demands of day two to the final reward of taking in Machu Picchu on day five.
Ready to experience it for yourself? Book this itinerary with us through our Salkantay Trek 5 days, and if you have questions about the difficulty level, the gear you’ll need, or available dates, don’t hesitate to contact us. We’ll help you plan every detail of your trek to Machu Picchu.
También te puede interesar
This is probably one of the most common questions among those starting to plan their trip to Peru:...
Leer articulo
If you’re planning your visit to Cusco, you’ve likely come across the term “Tourist Ticket” more than once....
Leer articulo
Just a few minutes from Cusco’s Plaza de Armas, on the hills overlooking the city from above, sits...
Leer articulo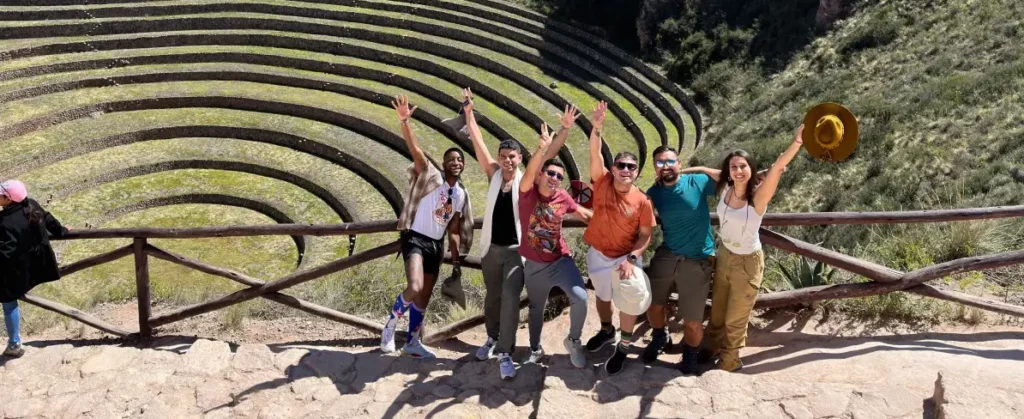
In the Sacred Valley of the Incas, just a short distance from one another, sit two of the...
Leer articulo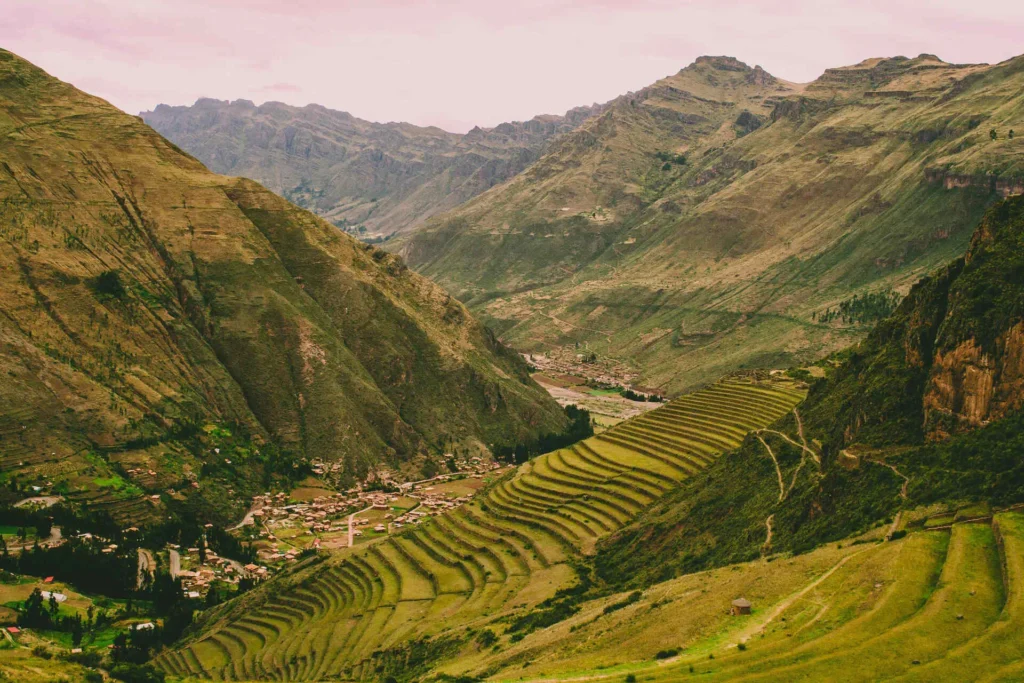
Pisac is one of those Sacred Valley destinations that manages to combine, in a single day’s visit, two...
Leer articulo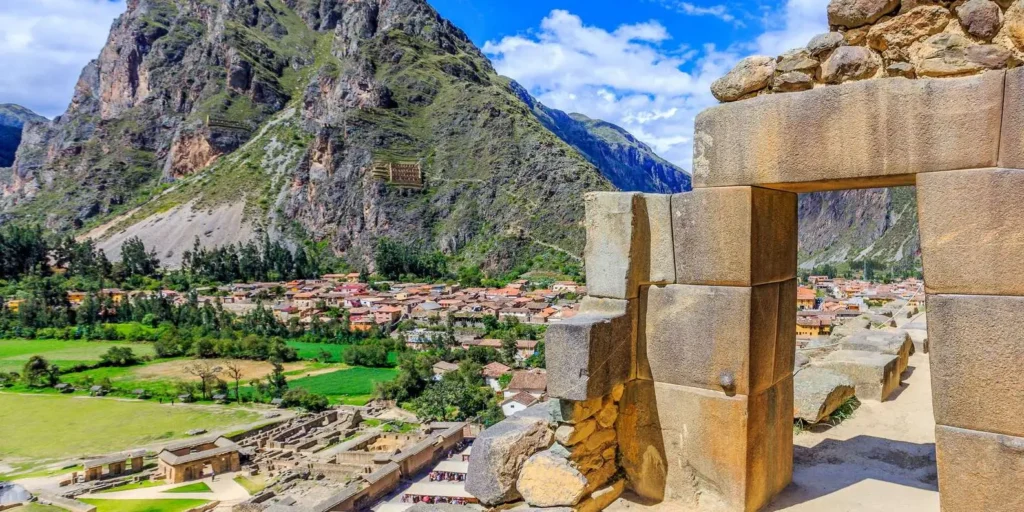
Ollantaytambo is, arguably, the most special town in the entire Sacred Valley of the Incas. Unlike other archaeological...
Leer articulo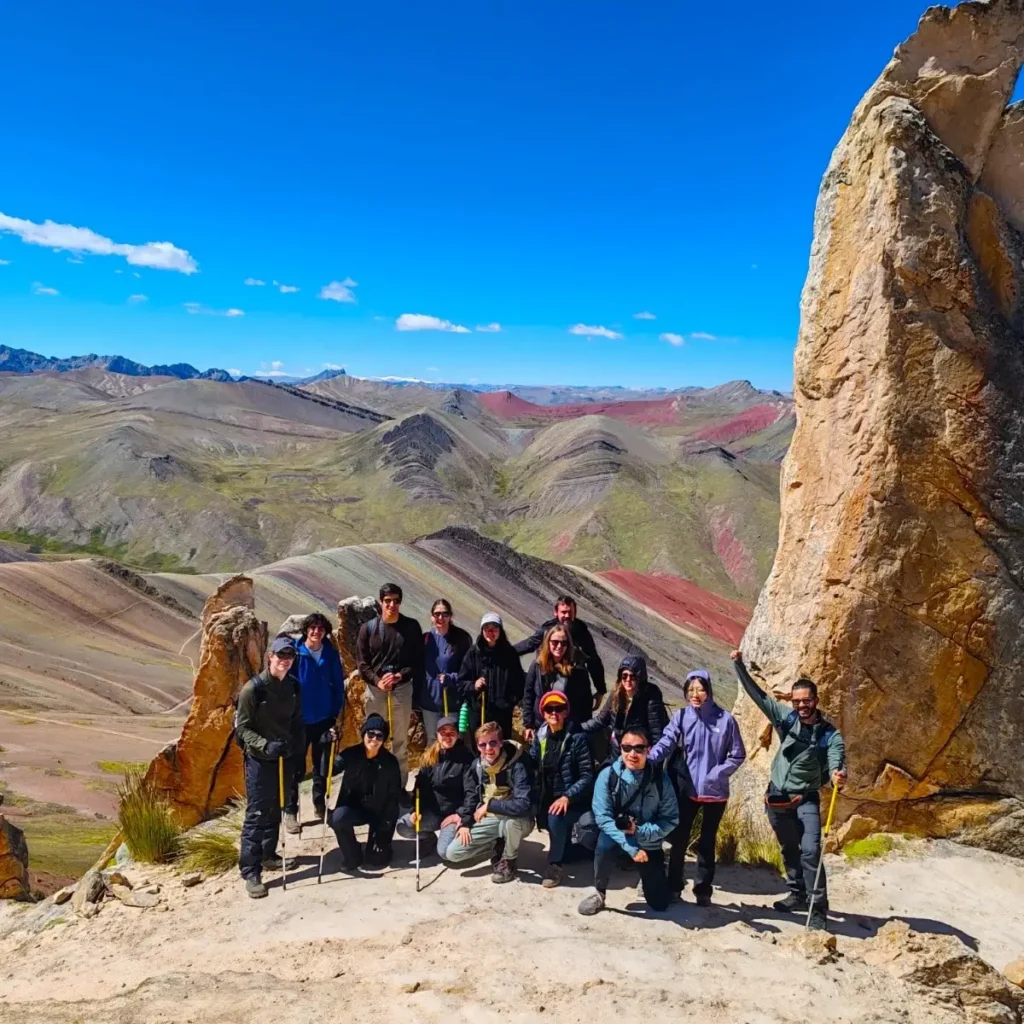
If you’ve been researching the famous rainbow mountains near Cusco, you’ve probably already come across Vinicunca, the Rainbow...
Leer articulo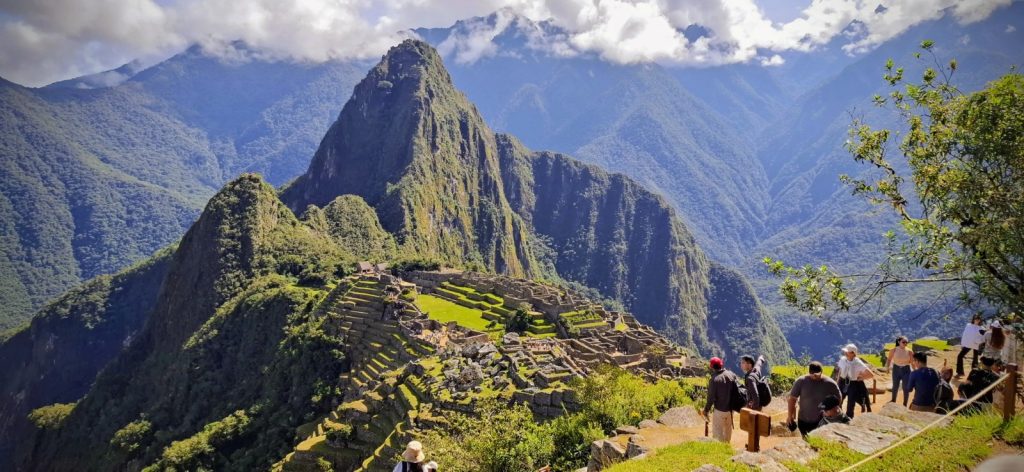
If you’ve already secured your Machu Picchu ticket and are thinking about adding an extra hike up one...
Leer articulo